5 steps to slaying your flat lay photography using your iPhone!
For a time I was coined the #FlatLayWhisperer with good reason!
When I launched my product photography business my only equipment was an iPhone and 2 soft lights. It was my only equipment for about 18 months. Within the 1st 6 months I was in business, I made $10,000 using only an iPhone, daylight and soft lights.
Proving that your equipment is only 1 part of the story. If you have an iPhone, some whiteboards and soft lights (or access to natural daylight), you can begin taking some beautiful flat lays with your iPhone. I’ve shared how you can create a mini photography studio in this blog post.
In this post I’m sharing the 5 elements to creating amazing flat lays with your iPhone!
Lighting. This is one of the most important steps. There are various types of light. There is Bright White, which often leaves a yellow, unappealing cast (think of the lighting that is in your home), there is tungsten, which is actually similar to bright white (yellow), there is incandescent which is a little blue. You want to use natural daylight because it offers the most optimal light and can show the true intensity of colors in your photo. Another way to mirror or replicate natural daylight is using soft lights with daylight bulbs. I’ve linked an option for you to consider here. The lighting can certainly make or break an image so definitely use daylight!
The first thing I want you to do is CLEAN YOUR LENS! For me it has become second natural when I use my iPhone to take photos. I’ve seen what could have been masterpieces look like trash for this one reason. Please CLEAN YOUR LENS!
Balance. Balance refers to the space around props within a frame or photo. After lighting comes balance which is so important when putting together a beautiful flat lay. I often notice that people often dump every prop & product in their photo when creating a flat lay. But believe me when I say that less is truly more! Adding too much into a photo would distract the audience and will if anything turn them off. Do not be so compelled to add everything into one photo. One way to make sure you’re maintaining balance is keeping keeping rule of thirds.
A simple definition of Rule of thirds is maintaining equal balance across your entire frame, by breaking it up into 9 boxes. When using your iPhone, you can actually use Rule of Thirds by turning on the grid feature. Simply go to Settings > Camera > Grid and swipe right to turn on.
Color. I love using color with intention in my product photography. Color helps to invoke emotions & also mental activity or stimuli in your audience. For instance, blue is considered to be the most trust worthy color amongst men & women ahem banks that use this color in their marketing. Using bright warm colors help to excite happiness & high energy i.e. yellow, orange, neon colors. My theory with color is that less is more and simplicity is chic. Use 2-3 colors for your palette + use a neutral (such as white, black or grey) as your base. A fun way to use contrast is using complimentary colors.
Complimentary colors are colors that sit on opposite ends of the color wheel: Blue & Orange, Red & Green, Purple & Yellow are a fun way to use contrast. Consider the 70/30 rule, using the primary color as your base and the secondary color to complement.
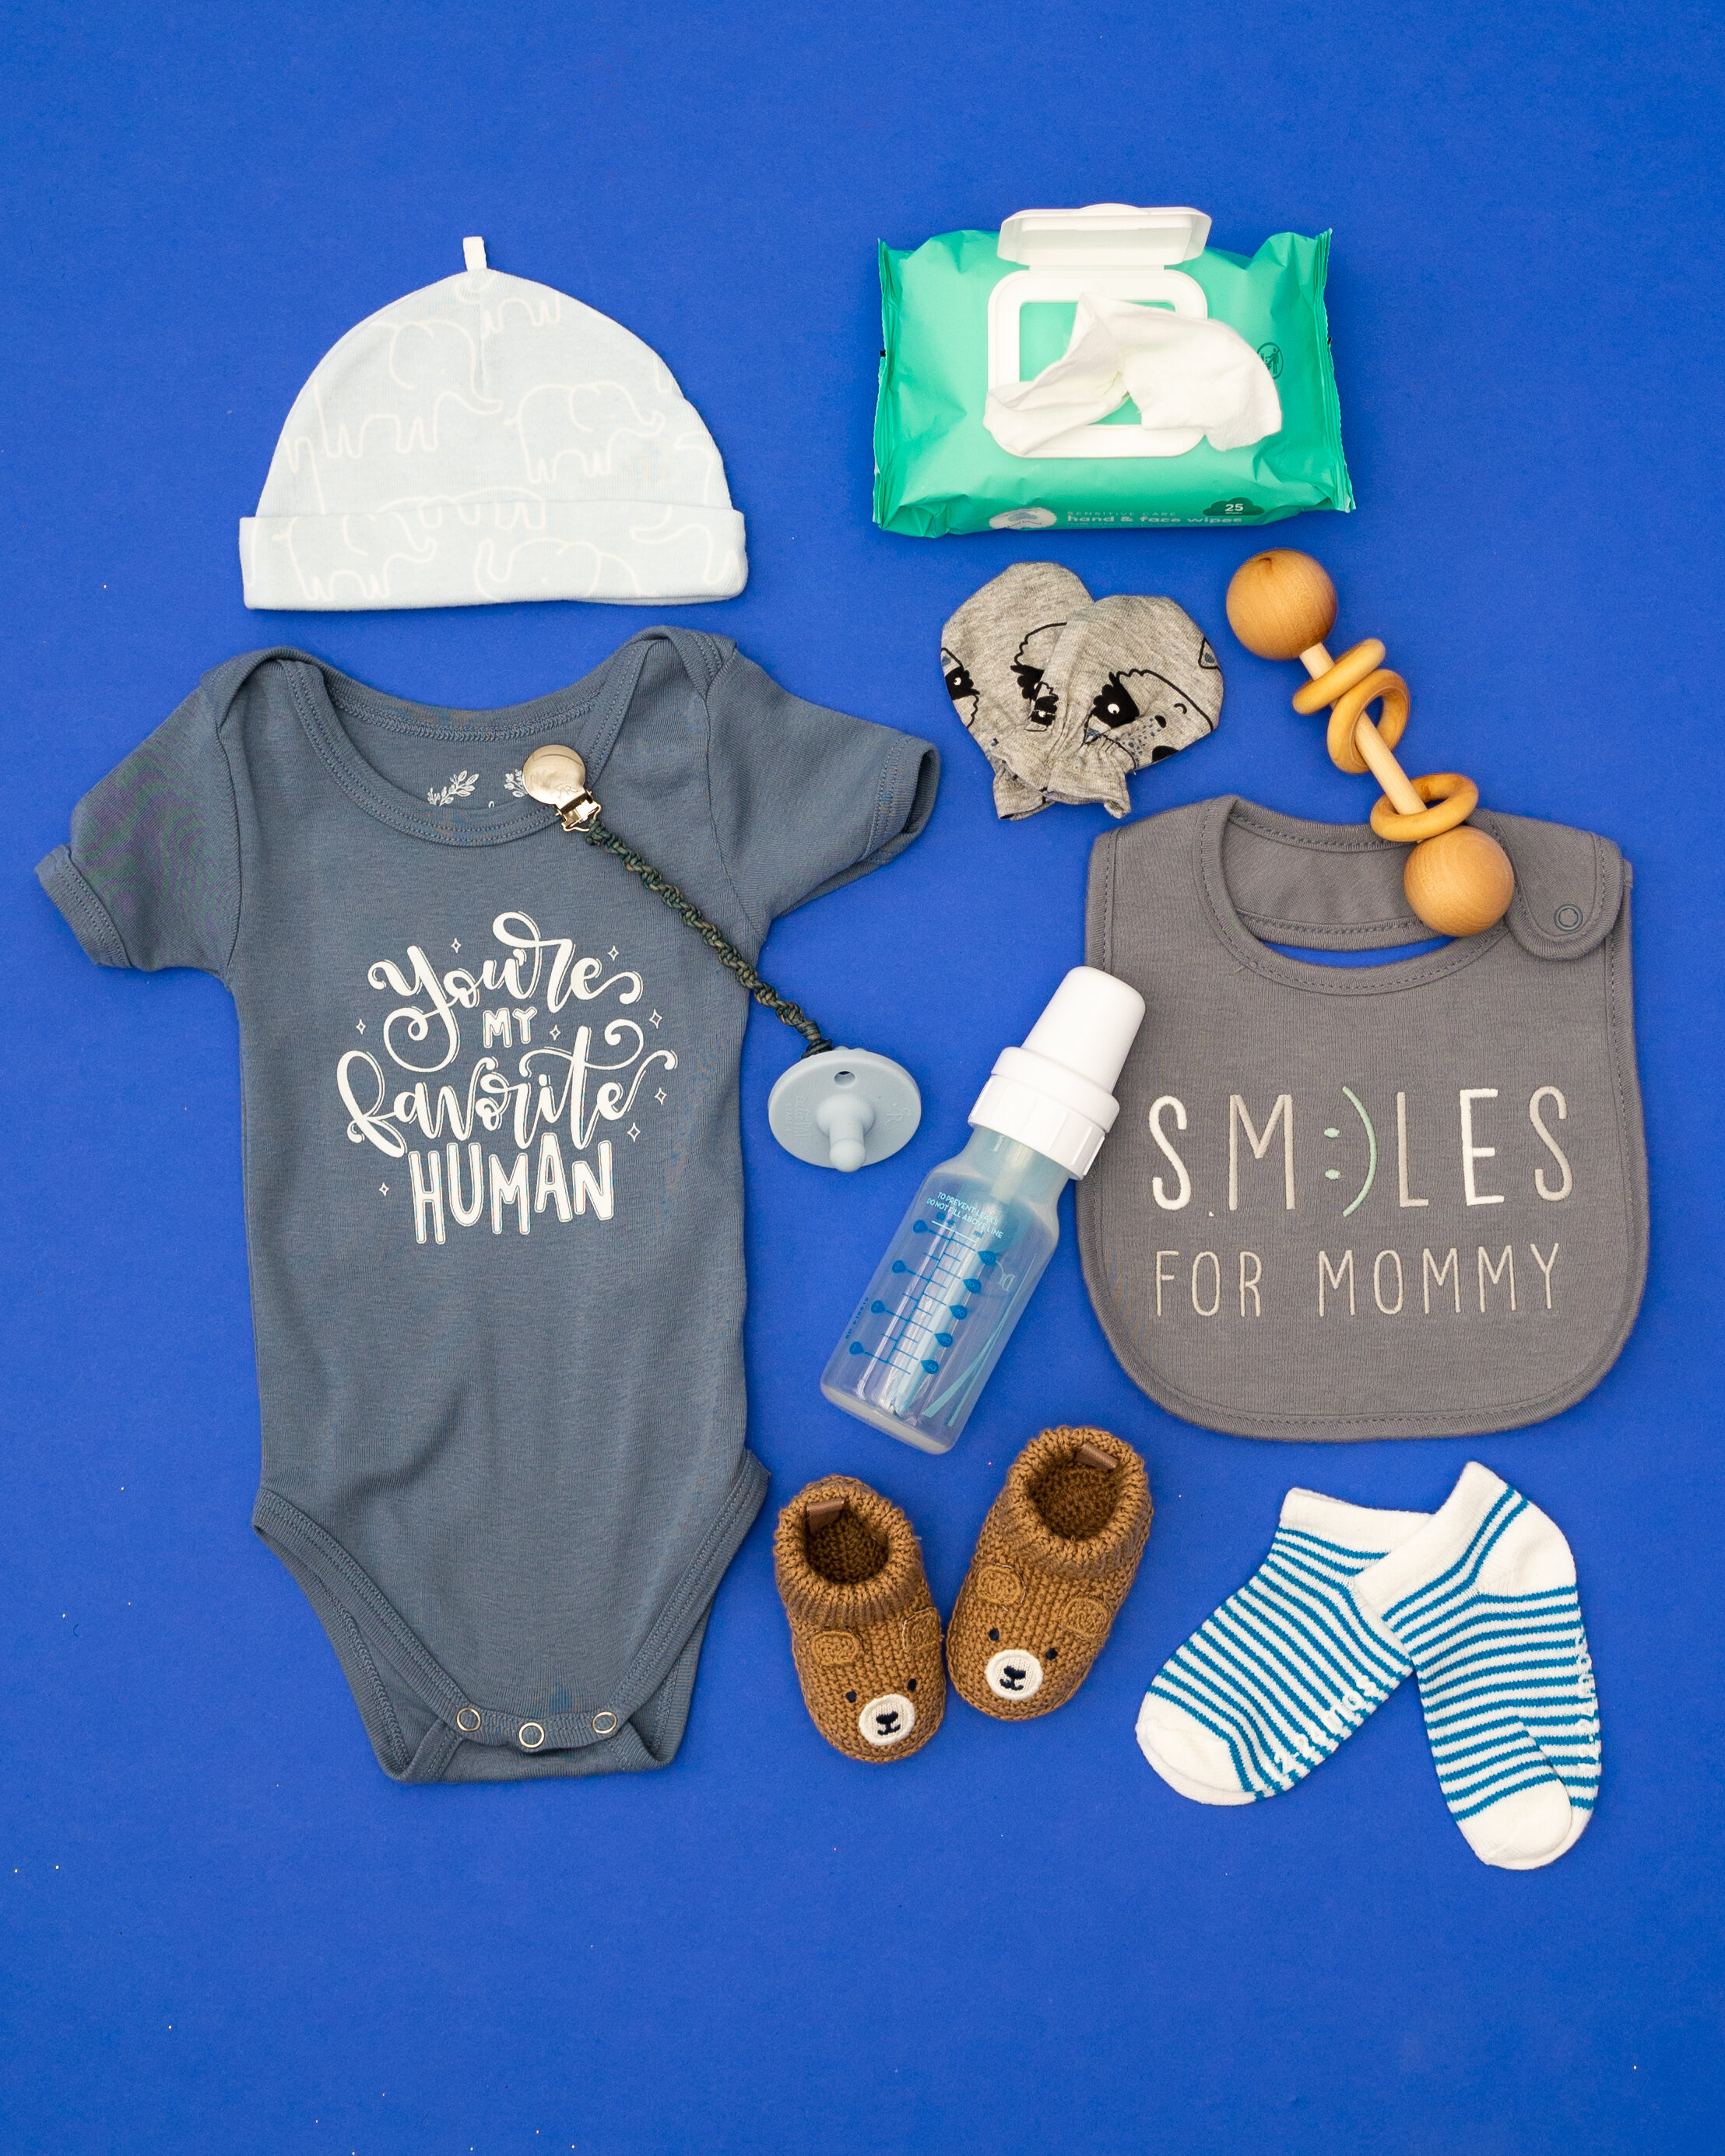
Texture & Size. I like to put these two together because I feel you cannot talk about one without the other in relation to props! Anything can honestly be used as a prop; however, you want to make sure you’re using your props with intention. When using props it’s better to start with less instead of more. This will encourage you to use less in order to make a point instead of adding more into the photo which can be distracting. Here are a few more tips.
Have a theme. It’s important to have an idea of what kind of flat lay you want to create. Creating an office flat lay? Use notebooks, a coffee/tea mug, pencils, staplers. A kitchen or recipe flat lay? Small bowls, spoons, rolling pin, etc. Make sure you are using props with intention.
Use 1-3 different textures within a frame. Maybe you want to use wooden props? Consider a solid colored backdrop or if you’re going to use print, consider marble or concrete. Both are textures but offer a singular look. You can also use fabric to add layers & depth to your photo.
Size Matters. Consider using props of various sizes to maintain balance & negative space in your photo. Be mindful how each works in respect to one another.


5. Layout. Reviewing content online I’ve noticed there are 3 popular flat lay layouts, I’ll share all 3:
Grid Layout. In this layout props are aligned along a vertical & horizontal plane. Items will have equal visual weight looking from left to right + top to bottom. Brands that use this layout often are J.Crew & Athleta
Hero/Spotlight Layout. This is my favorite layout because it creates depth and movement in photos. In this layout, several props are featured within a frame or image with one item serving as the focus or hero. The item is either bigger in size compared to the other items or is place strategically in the viewe'r’s sight. Think left or center, as most audiences read naturally from left to right.
Random. In this layout props are styled in a random or free form layout. It allows the reader to move from one object to the next within the frame. Random layouts still follow the previous elements in order for it to still work and be aesthetically pleasing for the audience.
Grid Layout Idea

Hero Layout Idea
Following these 5 steps will help you create amazing flat lays using only your iPhone! Want to learn more or see more visual examples? Check out my Master iPhone Photography Course!
I’m sharing tips & tools to create amazing photos & flat lays with the equipment you already own!
Course Breakdown:
Lesson 1: Lighting & Balance
Lesson 2: Prop Shopping & Expectations
Lesson 3: How to play with textures & colors in your flat lays
Lesson 4: Popular Flat Lay Layouts
Lesson 5: Popular Mobile Editing Apps
Includes Quick Guide: Mobile Photography Equipment & Key Terms
You’ll be directed to google drive with all materials + videos